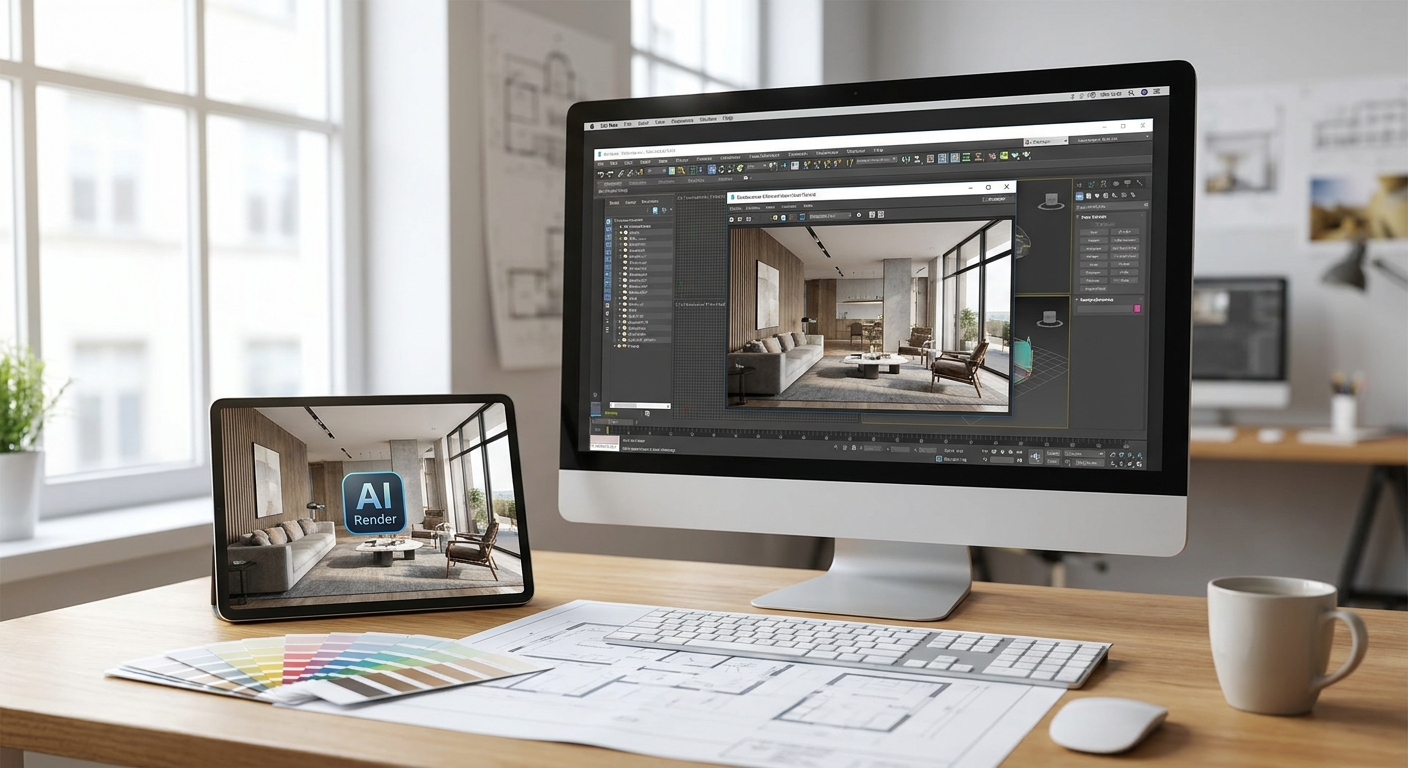
Turning a raw 3ds Max viewport shot into a client-ready photorealistic render takes three steps and a few minutes, not hours of ray-tracing. Here's the exact workflow architects and 3D artists use to get there in 2026.
- A clean 3ds Max screenshot plus a written prompt produces a 3ds max ai render in under a minute with PromptRender — no plugins.
- Camera angle and material clarity in the viewport matter more than polygon count for AI render quality.
- Skip V- Ray or Corona setup entirely for concept and client-preview renders; save native rendering for final construction documents.
- Vague prompts produce generic results — name materials, lighting direction, and mood explicitly.
Why this matters
Native 3ds Max rendering through V-Ray, Corona, or Arnold still takes real setup time: HDRI lighting, material libraries, render passes, denoising. For a mid-project client preview or a quick massing study, that overhead doesn't pay off.
AI rendering flips the order of operations. Instead of building lighting and materials inside 3ds Max before you render, you capture a basic viewport screenshot and describe the finish, lighting, and mood in text. The AI fills in the photorealistic detail. In 2026, this workflow has moved from novelty to standard practice for early-stage design presentations and concept decks.
The tradeoff is real: you lose pixel-level control over exact material placement compared to a fully set-up V-Ray scene. For fast iteration and client buy-in, that tradeoff is usually worth it.
What you'll need
- A 3ds Max scene with basic geometry and rough massing complete
- Viewport set to a shaded or realistic display mode (not wireframe)
- A screen capture tool or the 3ds Max viewport capture function
- An account with an AI rendering tool such as PromptRender
- 5-10 minutes for the first pass, less for revisions
- A short written description of the target style (modern, mid-century, industrial, etc.)
The steps
1. Lock your camera angle before capturing
Pick the shot you actually want to present, not a working angle you'll fix later. AI rendering interprets everything visible in the frame, so cropped walls or an awkward eye-line will show up in the final photorealistic render exactly as captured.
Use the 3ds Max Camera Correction modifier to straighten verticals if you're shooting an exterior. A tilted horizon in the source screenshot reads as a tilted horizon in the finished render.
Common mistake: capturing a top-down or isometric view when the goal is a walk-through-style presentation render. AI models trained on architectural photography perform best on eye-level and slightly elevated perspective shots.
2. Switch to a shaded viewport, not wireframe
Set your 3ds Max viewport to Realistic or Shaded display mode before capturing. The AI needs to read basic form, window placement, and rough massing from the screenshot — wireframe geometry gives it nothing to anchor materials to.
You don't need textures loaded or lighting rigged. A flat gray shaded model with correct proportions outperforms a textured but poorly lit scene, because the AI is inferring the final materials from your text prompt, not your viewport materials.
3. Capture at the highest resolution your screen allows
Maximize the 3ds Max viewport before capturing — a full-screen screenshot at 1920x1080 or higher gives the AI more detail to work with than a small cropped window. Low-resolution source images produce soft, less accurate output regardless of how good the prompt is.
Use Print Screen or a dedicated capture tool rather than the 3ds Max render buffer output — you want the viewport image, not a rendered frame, since this workflow skips native rendering entirely.
4. Upload the screenshot and write a specific prompt
Upload the captured image to PromptRender and describe exactly what you want: material ("white oak siding, black steel window frames"), lighting ("late afternoon sun, warm"), and context ("suburban lot, mature trees in background"). Generic prompts like "make it realistic" produce generic results.
Name the architectural style if it matters to the brief — "Scandinavian minimalist interior" or "industrial loft conversion" gives the AI a stronger reference point than describing individual finishes one by one.
“If your screenshot doesn't show the window placement clearly, the AI can't guess the facade material correctly.”
5. Generate and check the first pass against your brief
Run the generation and compare it against the client brief or design intent, not against a mental image of a perfect render. First passes in 2026-era AI rendering tools typically nail massing and lighting direction but can miss finer material calls — a stucco finish rendered as painted plaster, for instance.
Check window-to-wall ratio, roofline accuracy, and overall proportion first. Those errors trace back to the source screenshot and need a re-capture, not a re-prompt.
6. Refine the prompt instead of re-capturing when materials are off
If the massing and camera angle are right but the finish looks wrong, adjust the text description rather than starting over. Add specificity: swap "wood siding" for "vertical cedar shiplap, weathered gray" and regenerate.
Most revision cycles take under a minute since you're not re-capturing the model, just re-describing it. Budget two to three iterations per view for a client-ready result.
7. Export at full resolution for presentation use
Once the render matches the brief, export at the highest resolution PromptRender offers rather than a preview-size file. A 3ds max ai render intended for a client deck or a print board needs enough resolution to hold up at full-page size, not just on a laptop screen.
Expected outcome: a photorealistic still that reads as a finished architectural photograph rather than a 3D model render — ready to drop into a presentation deck without further Photoshop work in most cases.
Turn your 3ds Max shot into a render
Upload a viewport screenshot and get a photorealistic result in seconds.
Troubleshooting
- Render looks flat or overcast when you wanted dramatic light. Add explicit lighting direction and time of day to the prompt — "low golden-hour sun from the west" produces very different results than no lighting instruction at all.
- Materials swap unexpectedly (brick becomes stone, glass becomes tinted). Name the exact material and color in the prompt, not just the category. "Red running-bond brick" beats "brick."
- Interior renders come out with generic furniture you didn't ask for. Specify "empty room" or list the furniture pieces you want if staging matters for the brief.
- Output resolution looks soft on a large screen or print. Trace it back to a low-resolution source screenshot — recapture the 3ds Max viewport at a higher resolution and regenerate.
- Camera perspective feels distorted at the edges. Reduce the field of view in the 3ds Max camera settings before capturing; wide FOV shots exaggerate distortion that carries through to the final render.
- Landscape or site context looks wrong for the actual lot. Describe the real site conditions in the prompt ("flat suburban lot, deciduous trees, asphalt driveway") rather than letting the AI default to a generic setting.
Tools and resources
- 3ds Max viewport set to Shaded or Realistic display mode
- A screen capture tool (native OS tool or the 3ds Max viewport capture)
- PromptRender for the screenshot-to-render conversion step
- A written style reference (mood board, material list, or a client brief) to draw prompt language from
- The 3ds Max Camera Correction modifier for straightening exterior shots
What to do next
The workflow above works the same way for other 3D packages — if your team also works in SketchUp, the same screenshot-and-prompt method applies with a few software-specific capture tips.
FAQ
What is a 3ds max ai render?
A 3ds max ai render is a photorealistic image generated from a 3ds Max viewport screenshot using AI, rather than through native ray-tracing engines like V-Ray or Corona. You capture a basic shaded viewport shot, describe the materials and lighting in text, and the AI produces the finished image in seconds.
Do I need V-Ray or Corona installed to get an AI render from 3ds Max?
No. AI rendering tools like PromptRender work directly from a viewport screenshot, so you skip the render engine setup entirely. You still need 3ds Max to build and shade the model, but the photorealistic finish comes from the AI step, not from V-Ray or Corona.
How long does it take to generate a photorealistic render from 3ds Max in 2026?
Generation itself typically takes under a minute once the screenshot is uploaded and the prompt is written. Total time including capture, prompting, and one or two revision passes usually runs 5 to 10 minutes per view.
Is AI rendering good enough for final construction documents?
No — AI rendering is built for concept presentations, client previews, and marketing images, not for technical accuracy required in construction documentation. Native 3ds Max rendering with precise material and lighting setup is still the right tool for final CDs.
Can I use an AI render tool with a low-poly or blockout 3ds Max model?
Yes, and it often works better than a fully textured model, since the AI is inferring finish materials from your text prompt rather than reading textures off the geometry. A clean shaded blockout with correct proportions is enough.
What resolution should my 3ds Max screenshot be for the best AI render result?
Capture at 1920x1080 or higher whenever your screen allows it. Higher-resolution source screenshots give the AI more detail to work from and produce sharper final output.
Does the camera angle in 3ds Max matter for AI rendering?
Yes, significantly. Eye-level and slightly elevated perspective shots produce the most photorealistic results because they match the angles most architectural photography training data uses. Top-down or isometric views tend to produce weaker results.
How many revisions does a typical 3ds max ai render need?
Most views need two to three prompt revisions to nail materials and lighting once the camera angle and massing are locked. Each revision cycle takes under a minute since you're editing the prompt, not re-capturing the model.
One last thing
The single biggest quality lever isn't the AI tool at all — it's the camera angle you lock before you ever capture the screenshot. Fix that first, write a specific prompt second, and most 3ds Max exports read as photographs on the first or second try.